1
Intake
Using the bottom screen only, users enter basic information, such as whether they wear glasses and if they have any issues with their current prescription.
UX + interface design case study
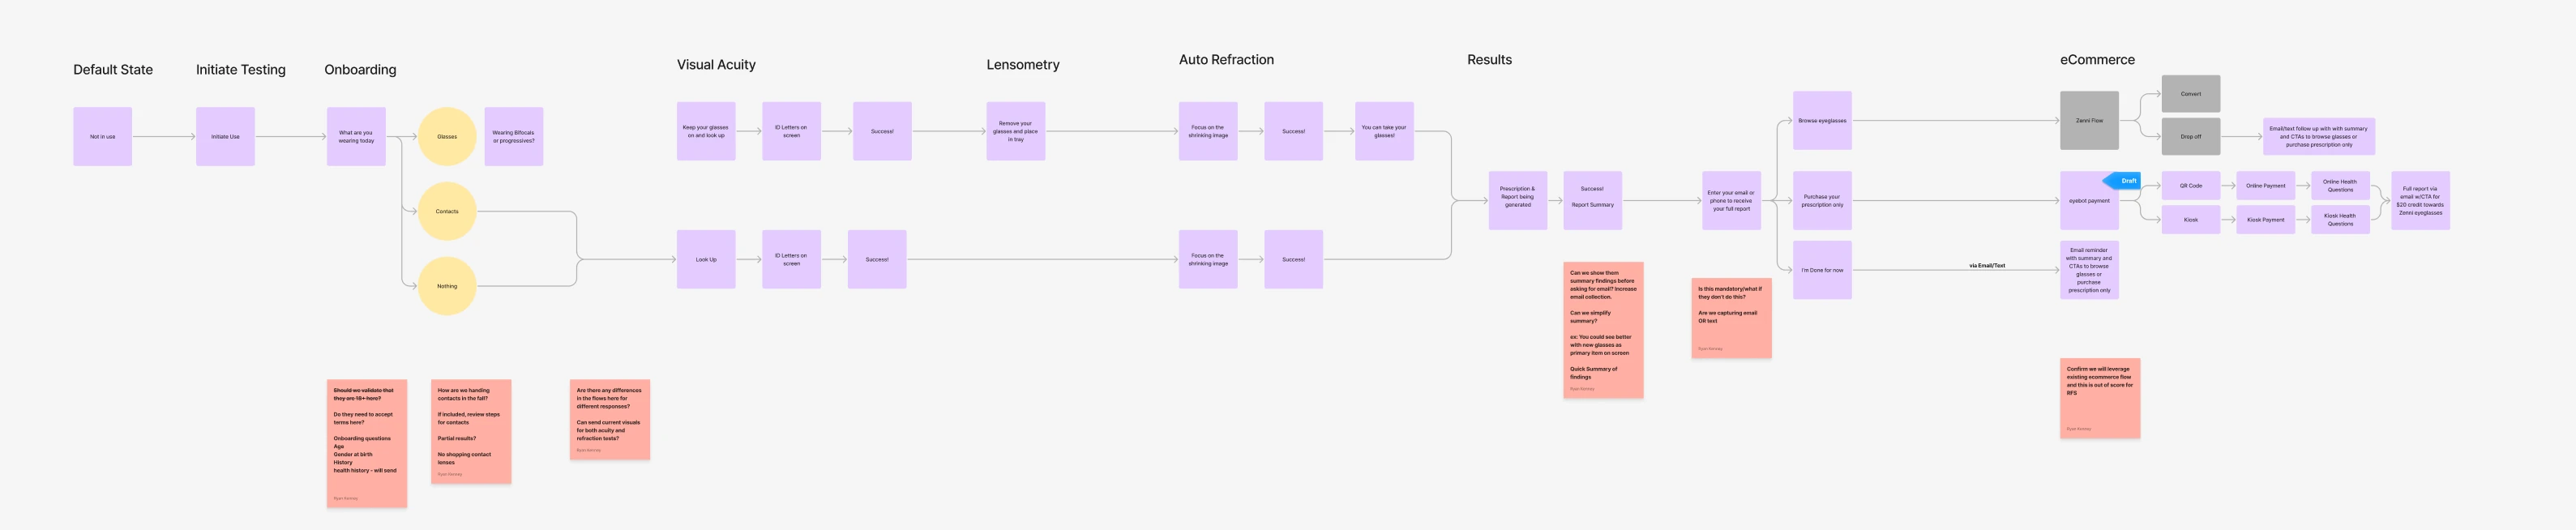
Create a 90-second eye test for crowded stores and malls that is fast enough for shoppers between errands and simple enough for someone who’s never used a kiosk.
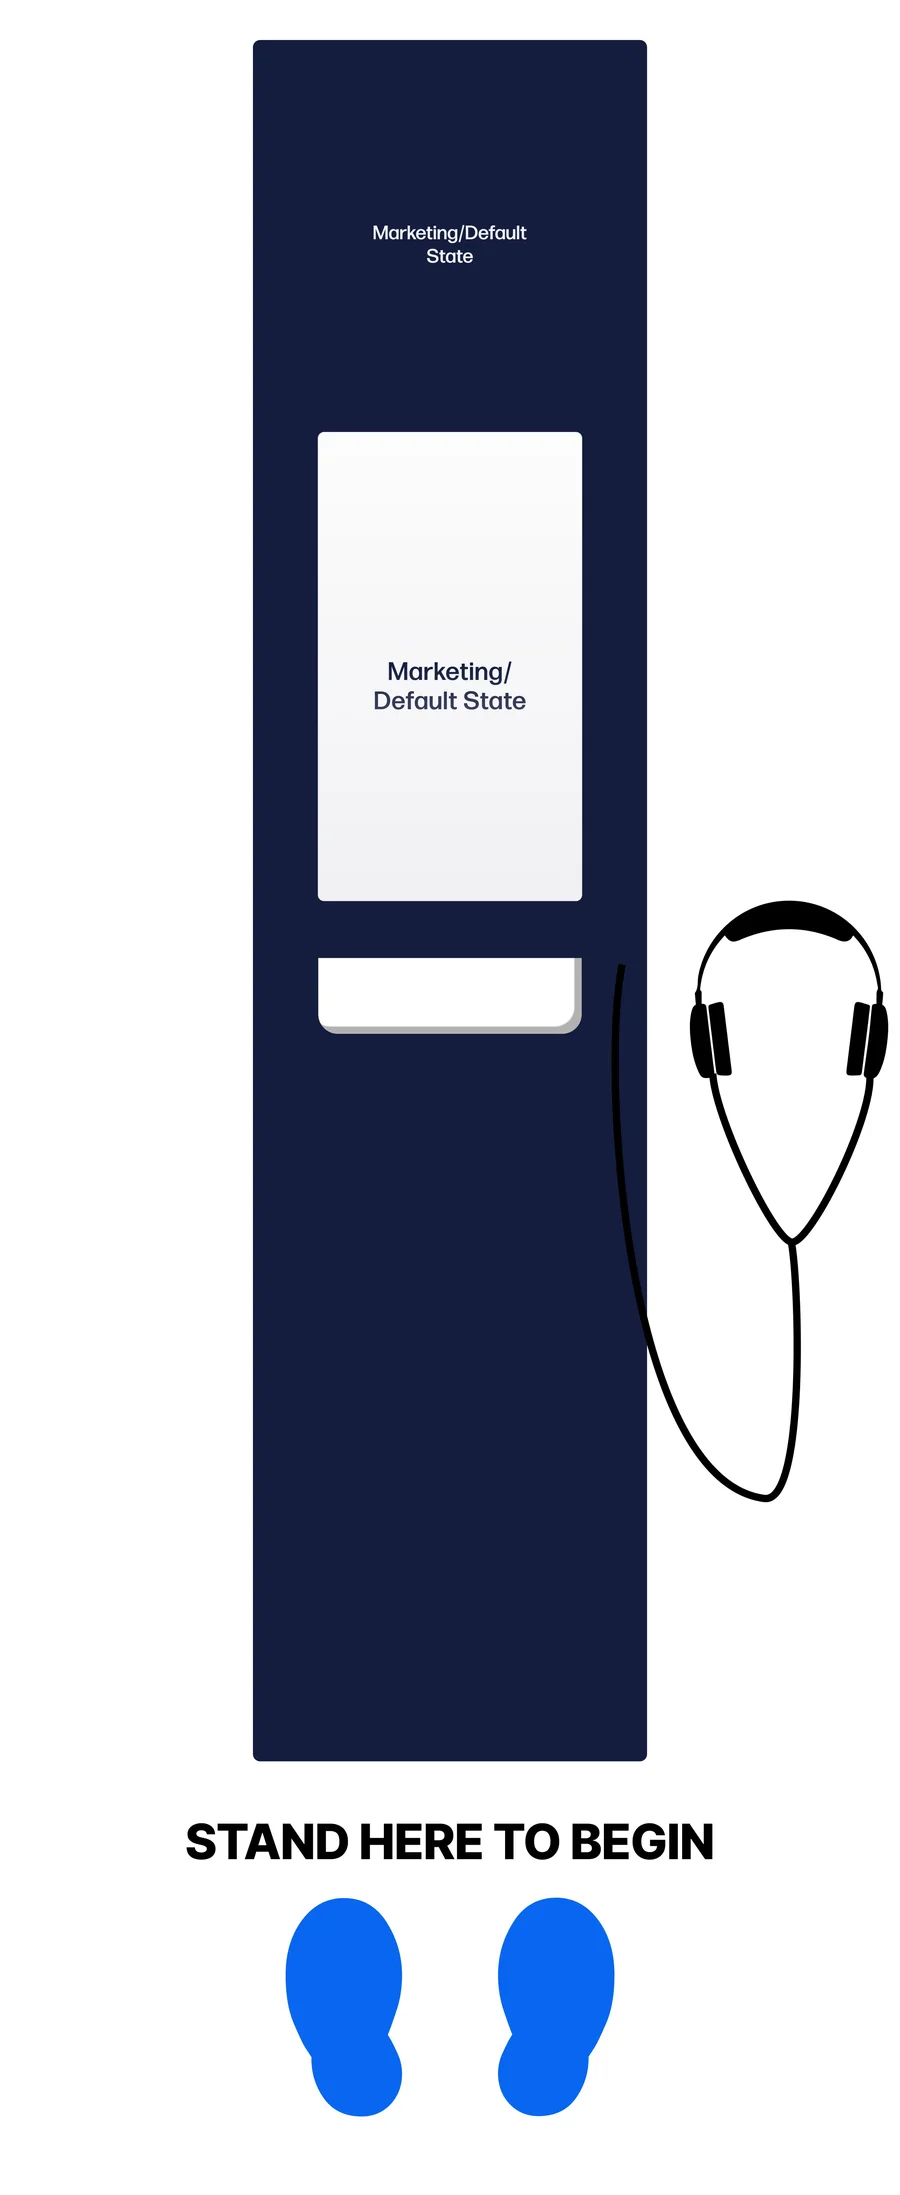
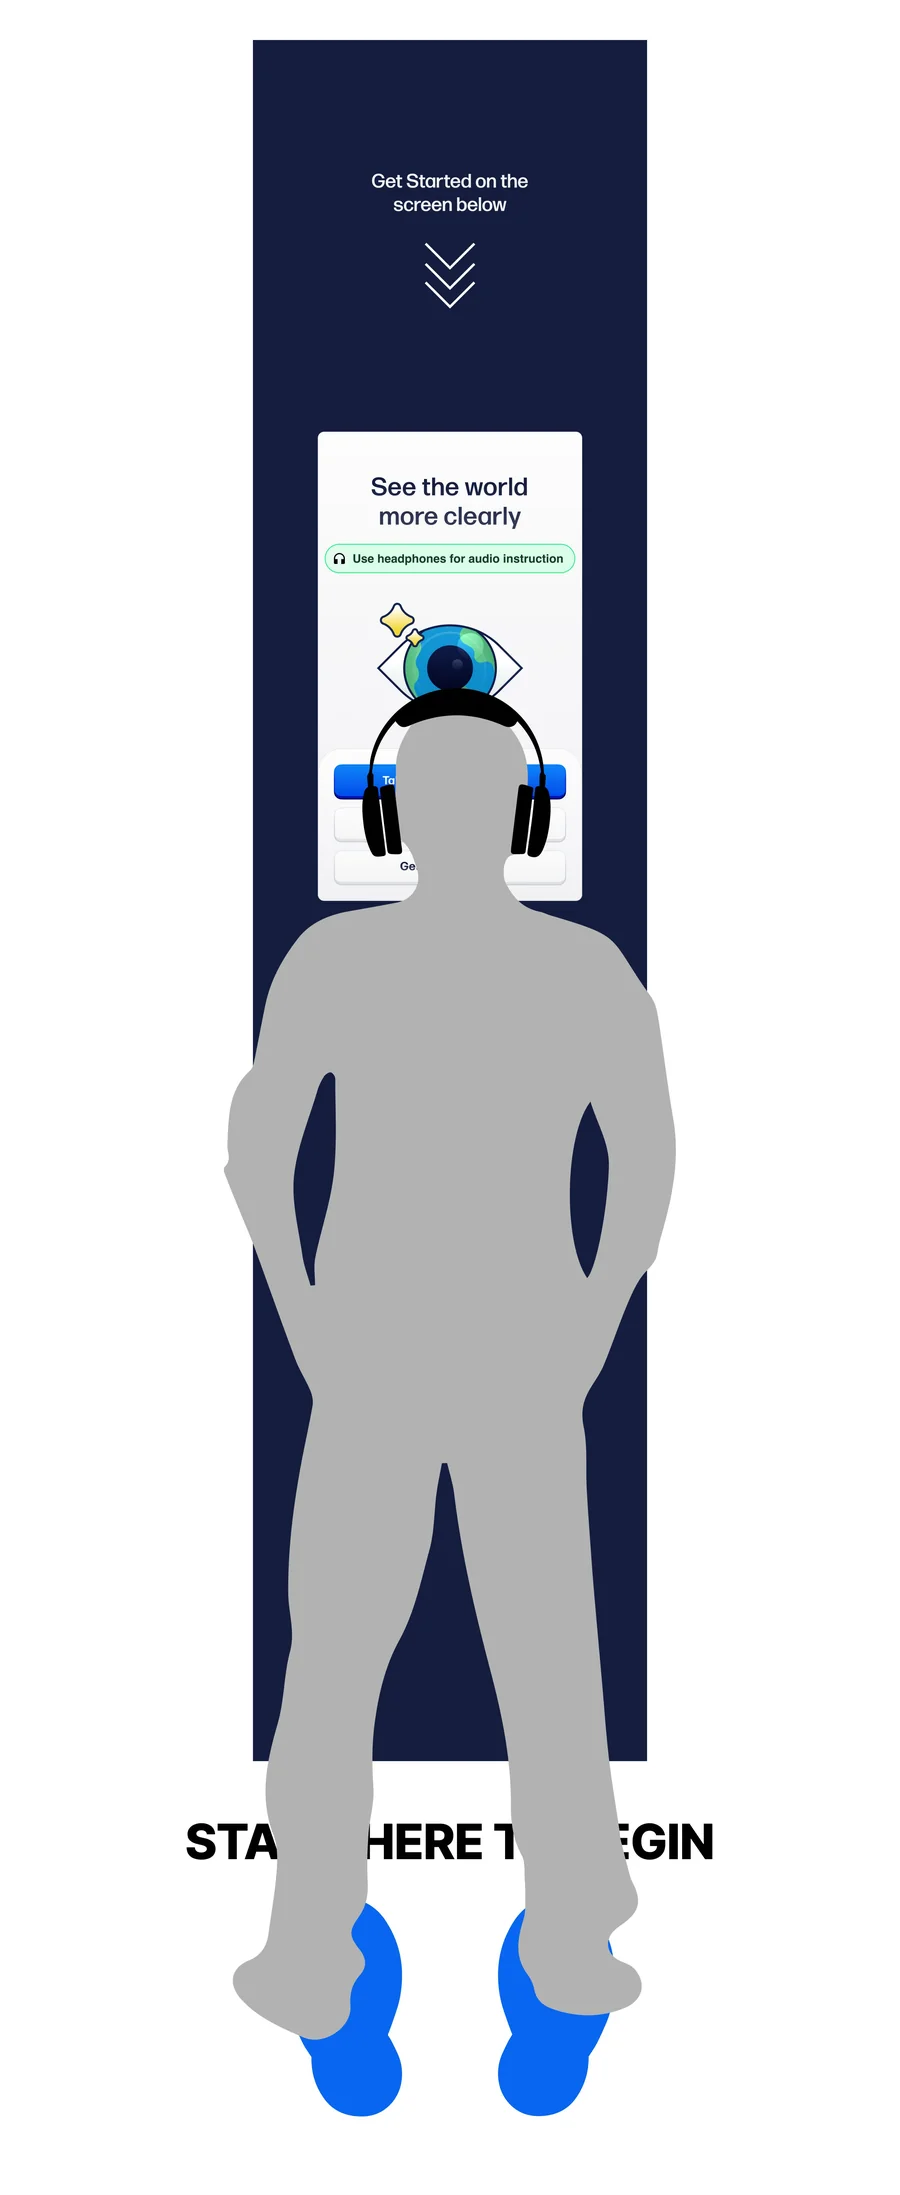
The initial setup included a screen for the eye test, a second screen for user input, a tray for glasses scanning, and headphones for audio instructions.
A marker on the floor showed users where to stand. The kiosk could sense their position, so if they were out of place, the screen told them how to adjust.
Later versions dropped the headphones. Eyebot wanted audio to enhance the experience without the test depending on it.
Using the bottom screen only, users enter basic information, such as whether they wear glasses and if they have any issues with their current prescription.
The next two parts of the test required both screens, so we needed a way to direct users from one screen to the other. We explored several solutions, such as color and arrows, but they weren’t intuitive enough and needed explaining.
We landed on the simplest approach: we kept only the active screen fully lit. Turning a screen on immediately drew users’ attention where we needed it.
When users needed to work with both screens, simple text prompts and visuals told them where to look. You can see our solution in the next step.
The second part looks a lot like a traditional eye test: users identify letters on the top screen and give their answers on the bottom one.
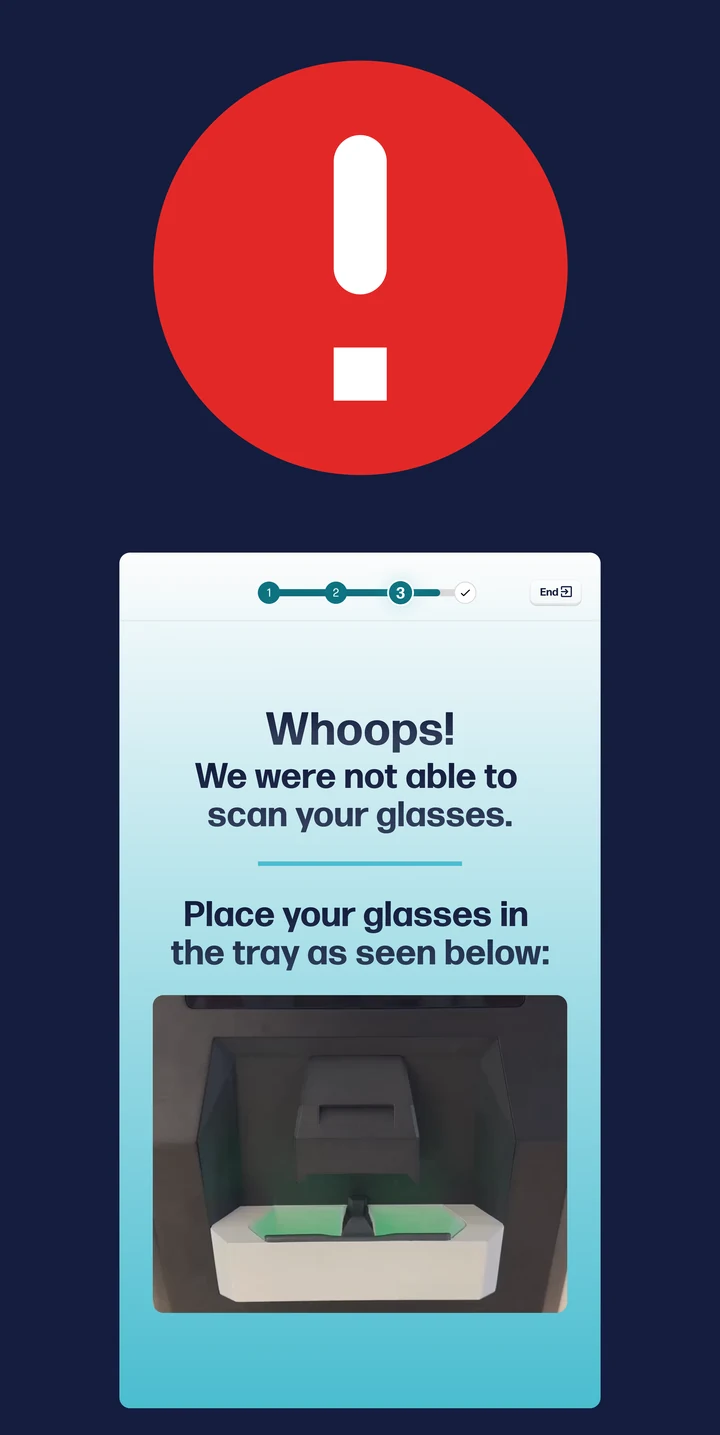
In the final part, two scans happen at once. Users take off their glasses and place them in the tray, where the kiosk confirms their current prescription.
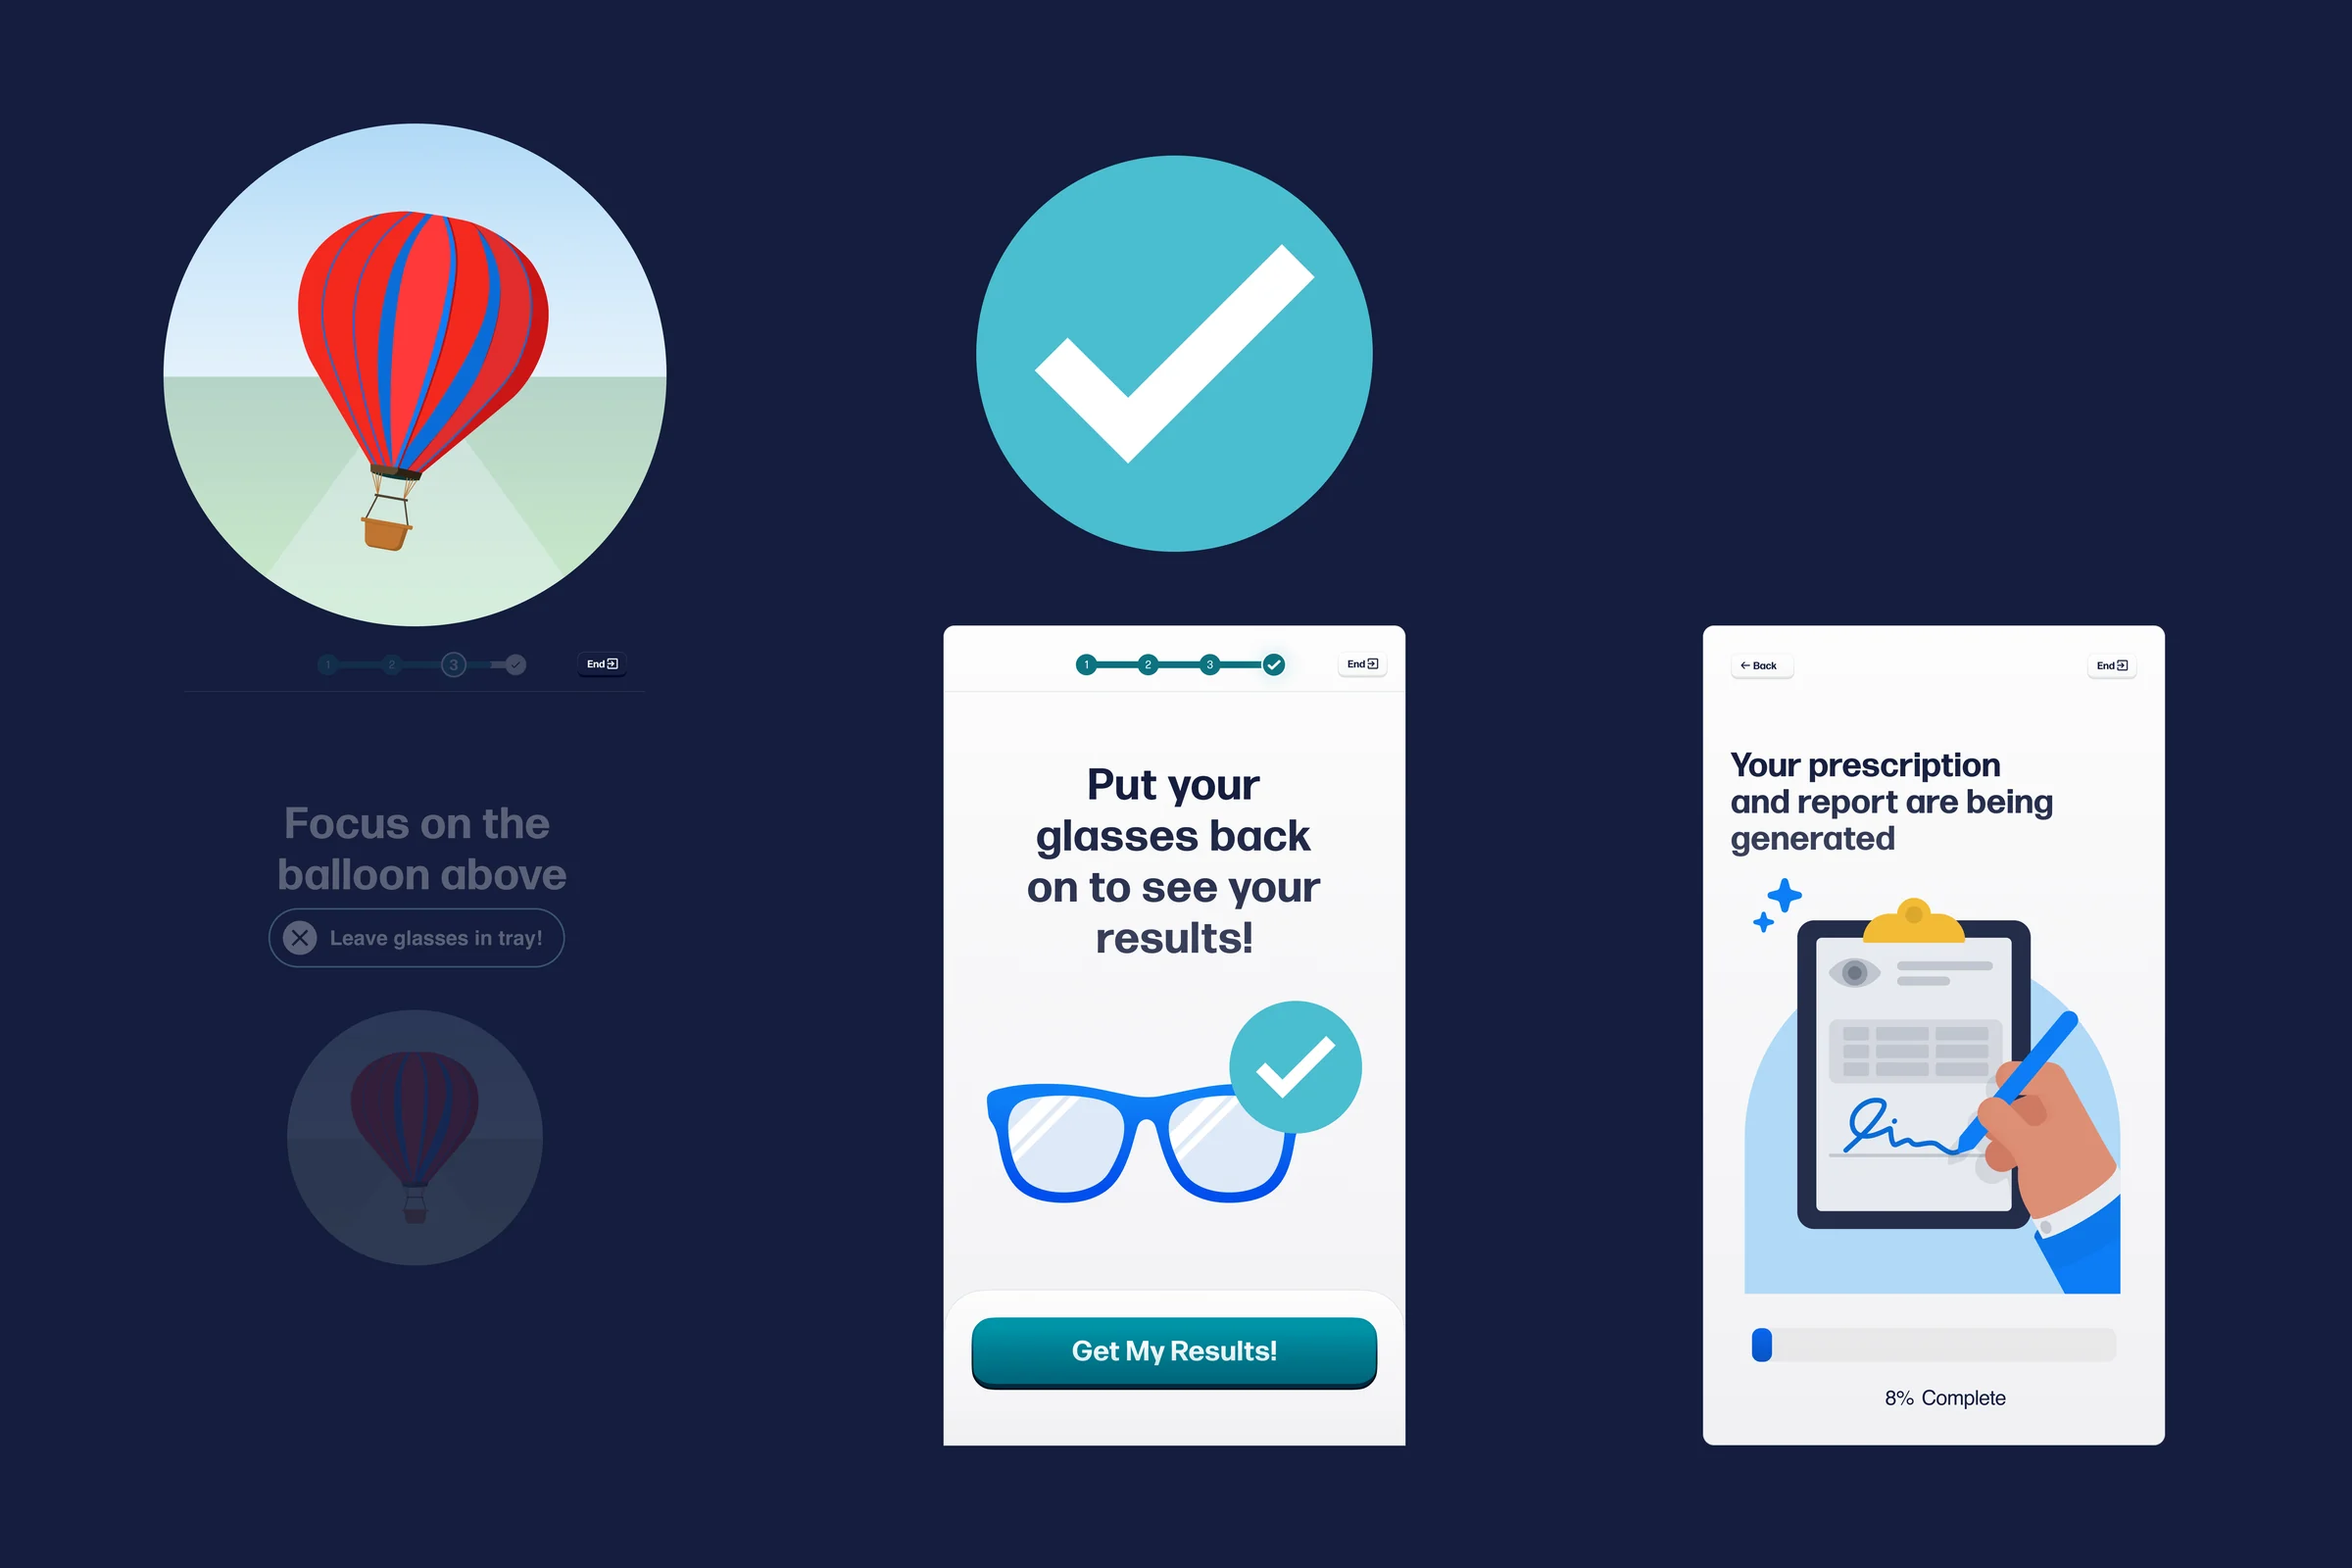
At the same time, they watch a balloon animation on the top screen while the kiosk scans their eyes.
Contact lens wearers and people without glasses had a shorter test. Their final part was just the eye scan, with no glasses in the tray.
For the third part, users with glasses had to take them off, which meant we couldn’t rely as heavily on visuals.
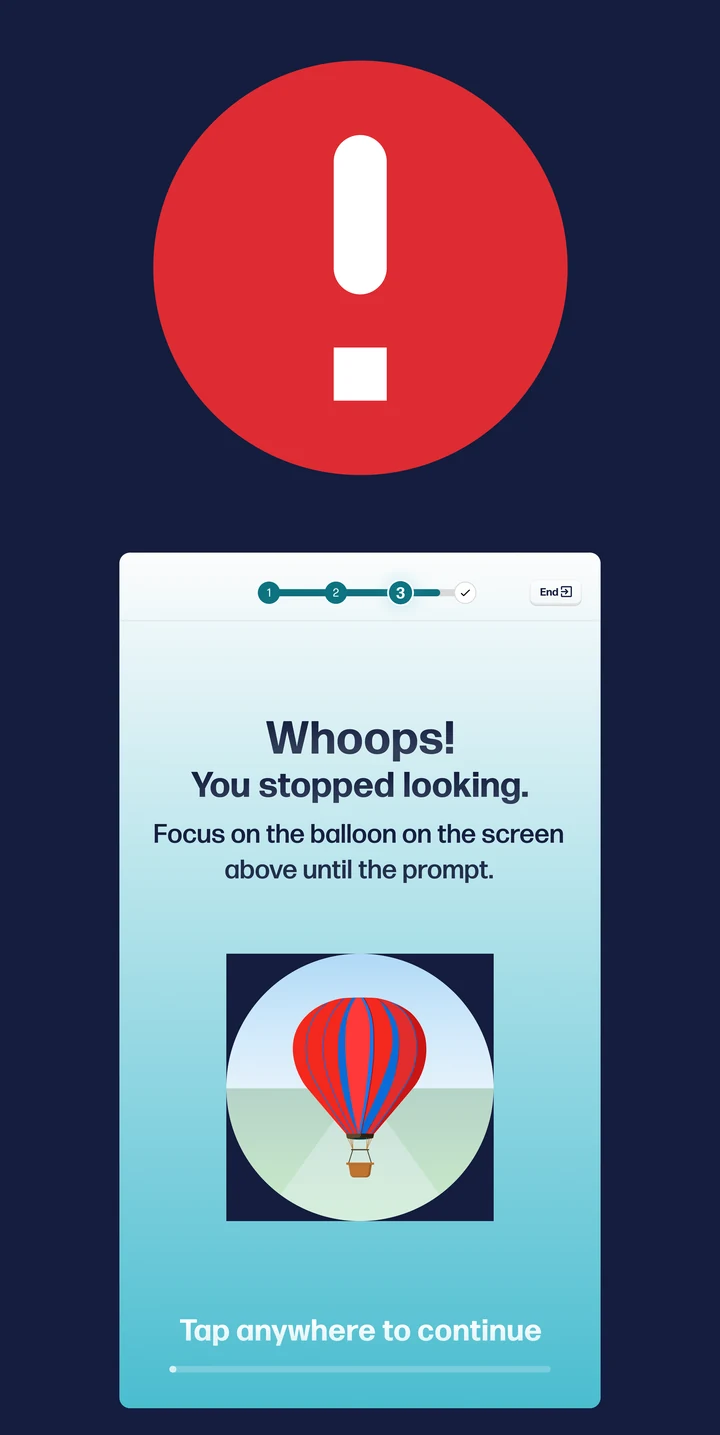
So while users still had their glasses on, we gave them an overview of what came next. Then we repeated the instructions one action at a time. First, they placed their glasses in the tray. Next, bold visuals and audio cues directed them to an animated balloon on the top screen. By the time the eye scan finished, the glasses scan was done too, and they could put their glasses back on.
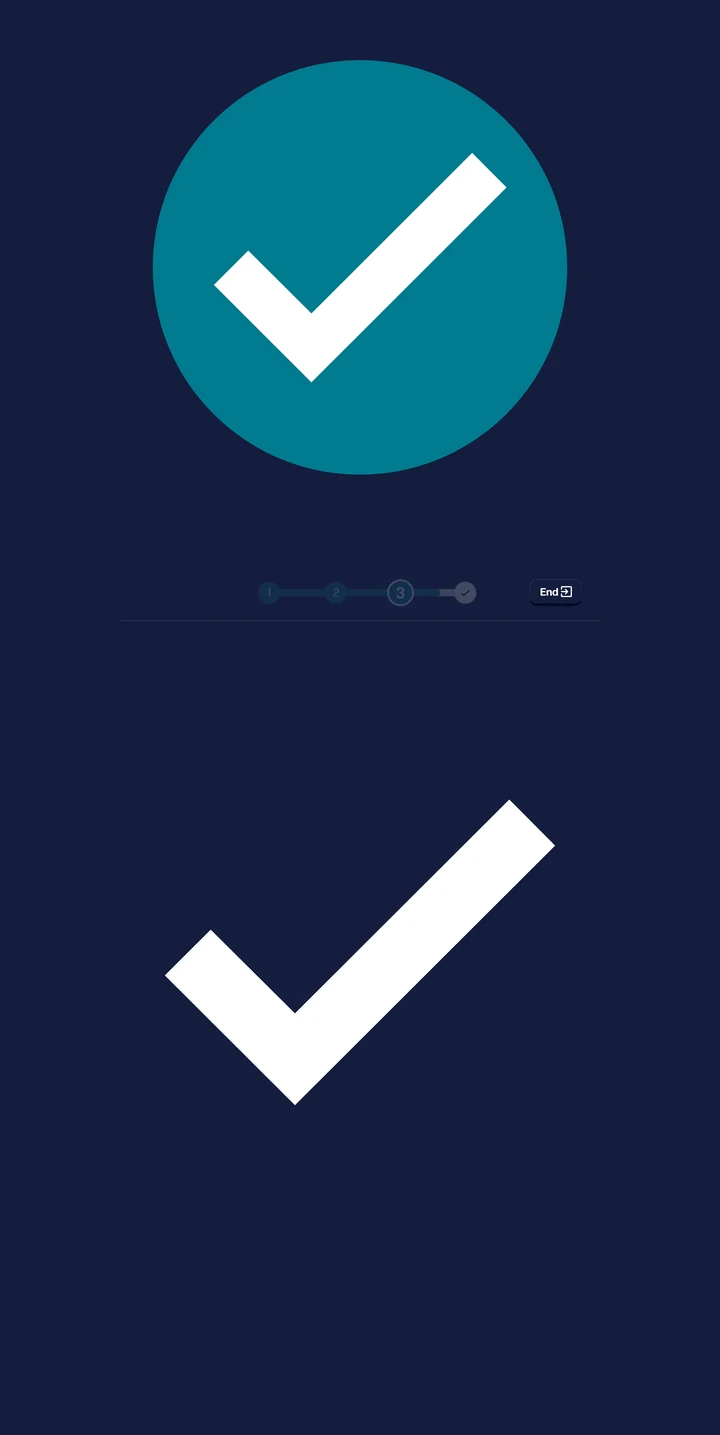
To keep error states readable without glasses, we made them large, color-coded, and high-contrast, and built them around simple icons. A mistake or problem brought up a large red exclamation mark and a negative audio cue. Each successful step got a large teal check mark.
The finished test took 90 seconds, right on target. We tested mostly in the office with colleagues standing in for shoppers. My work ended with the MVP, and Eyebot took it from there.
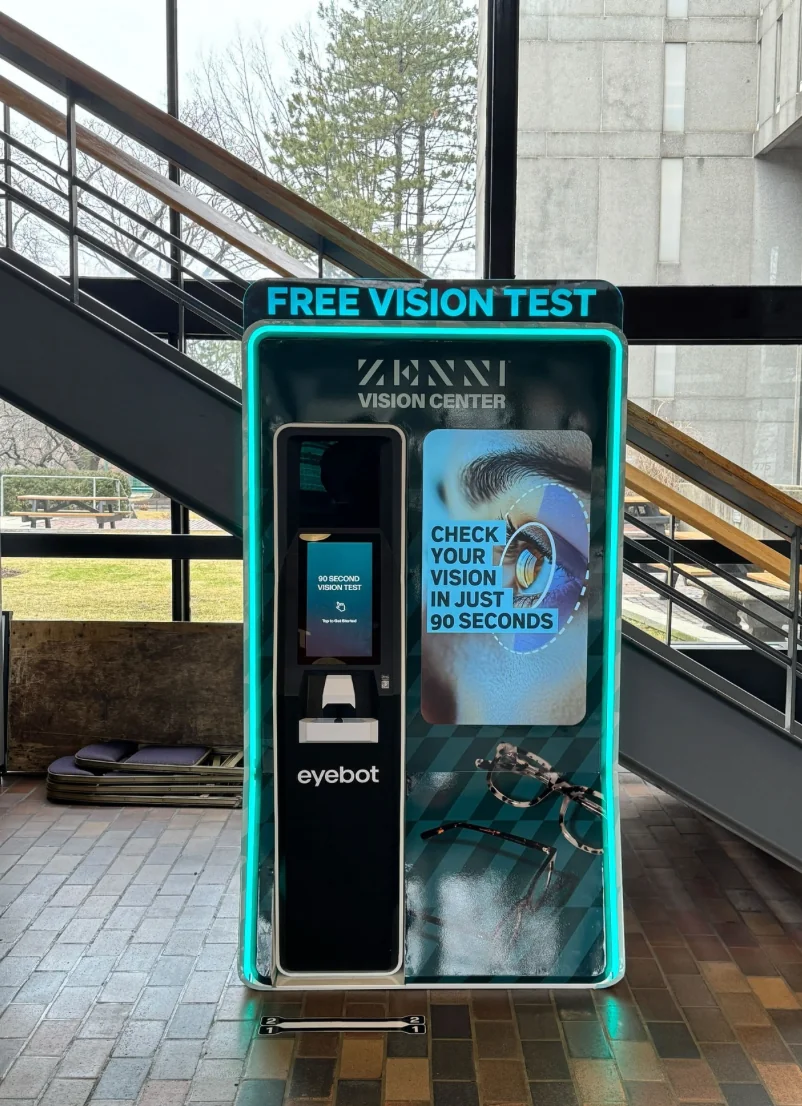
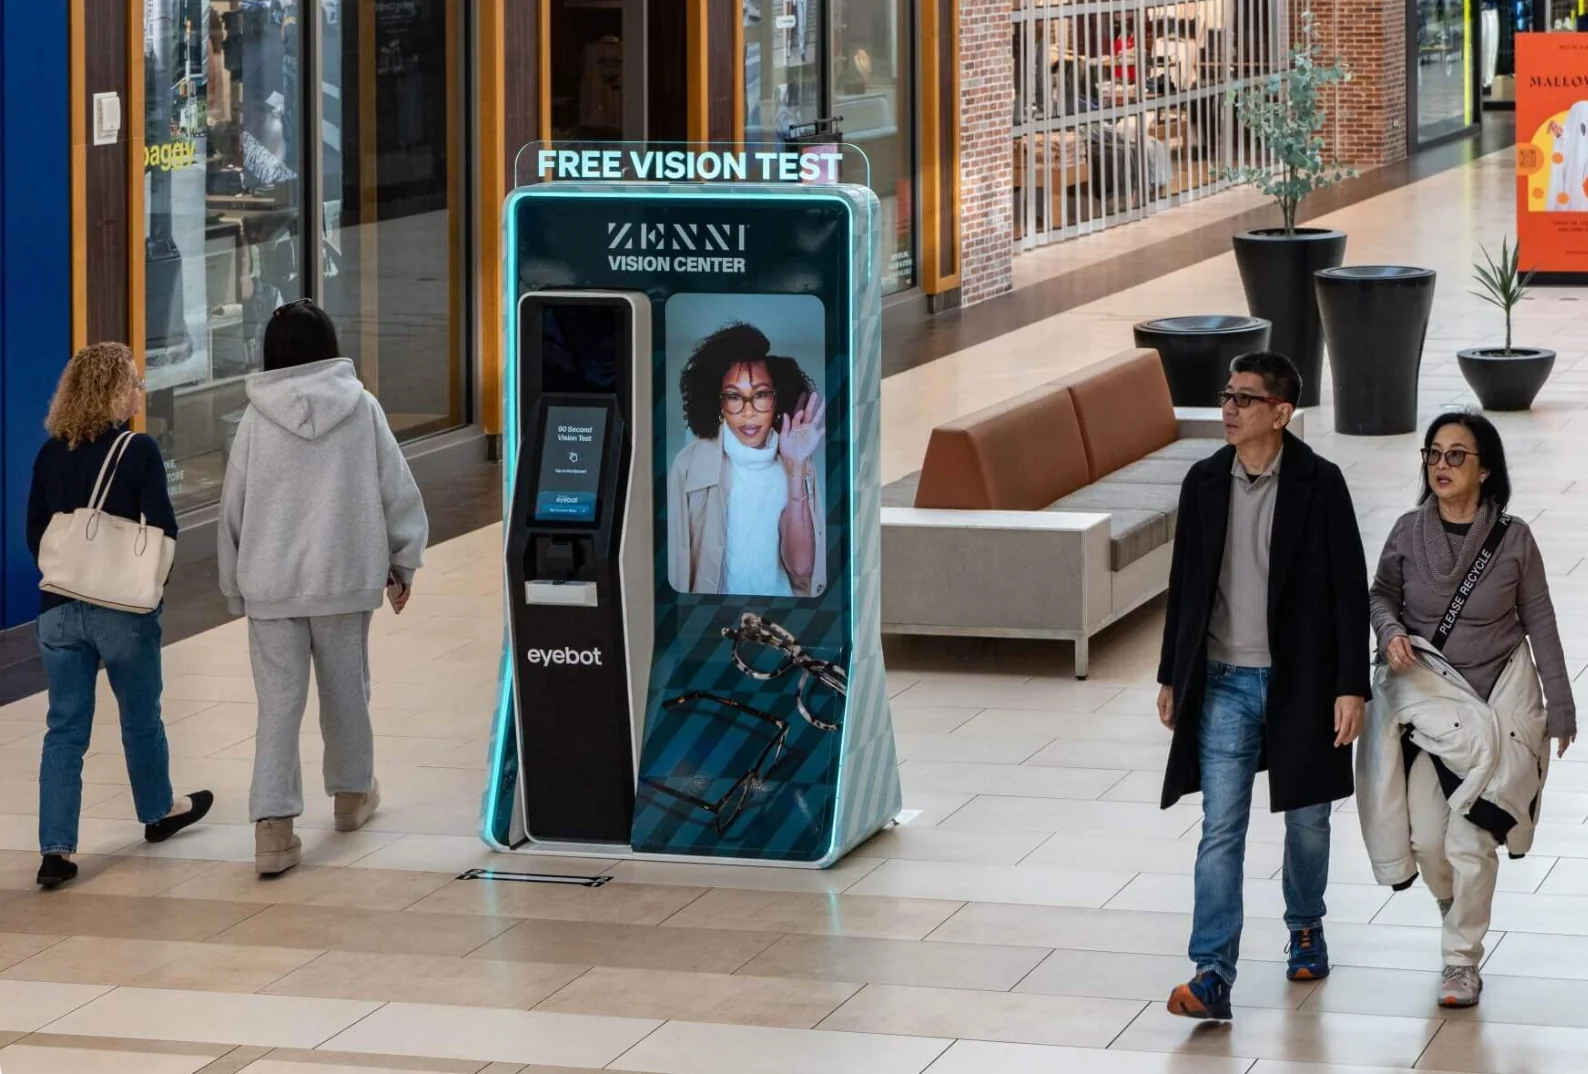
The MVP went from design to working kiosks at four New England locations, including stores, malls, and campuses.
Eyebot secured a $6 million seed round in June 2024.
It raised a $20 million Series A round in August 2025.